
How to Choose Disposable Food Storage Containers
Choosing Disposable Food Storage Containers is not just a question of price or appearance. A lid that seals poorly can leak soup into a delivery bag. A container that softens with heat may disappoint during service. Buyers should compare the intended food, temperature, portion size, transport time, and disposal options before ordering.
The market reflects packaging’s growing importance. Grand View Research estimated the global food packaging market at approximately US$408.6 billion in 2023, with further growth projected through 2030. That broad category includes many products, not just disposable containers, so it should not be mistaken for a container-only market estimate. Waste matters, too. UNEP’s Food Waste Index Report 2024 estimated that 1.05 billion tonnes of food were wasted worldwide in 2022. Containers alone cannot solve food waste. Fit, closure, and handling still count.
A useful design principle comes from William McDonough, an architect and circular-design expert: “Waste is food.” It is a reminder to consider what happens after use, not only how a container performs at the counter. Check food-contact suitability, temperature limits, leak resistance, stackability, and local disposal guidance. Then test a sample with the actual menu. Small trials reveal awkward details. Sometimes the “best” option is simply the one staff can close reliably. That deserves a second look.
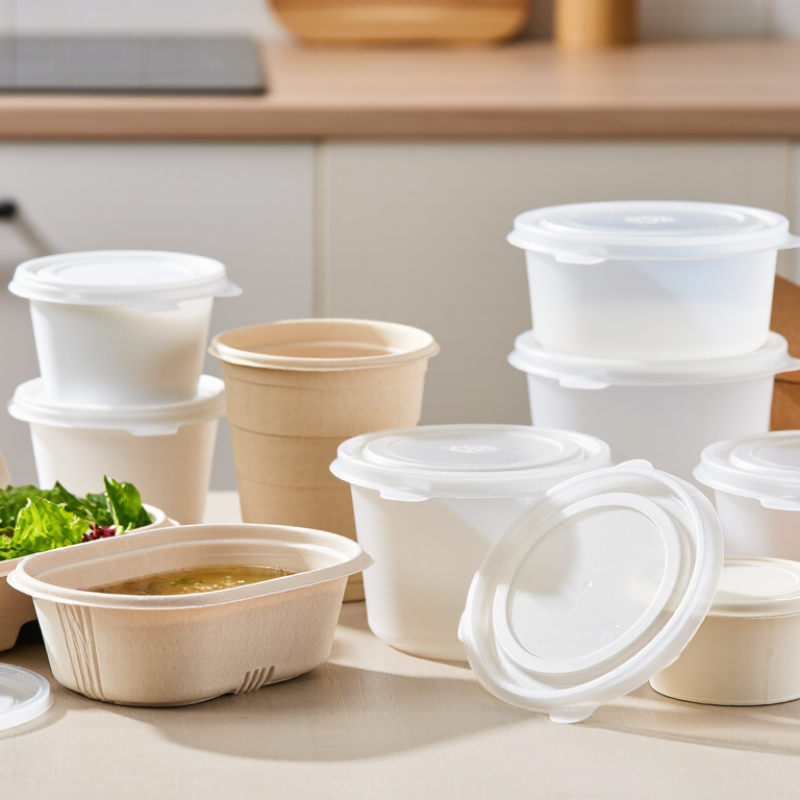
Define the Food, Storage Time, and USDA 40–140°F Danger Zone
A disposable container should match the food, not just the portion. Soups and sauces need a leak-resistant lid; crisp salads do better in a wide, shallow container that leaves room for toppings. For leftovers, choose a size that avoids excessive empty space and allows food to cool quickly. Check that the container is intended for food contact and can handle the temperature you plan to use. A takeout tub may look sturdy, but that does not mean it is safe for reheating.
Storage time matters because disposable packaging does not stop bacteria from growing. Keep cold foods at 40°F or below and hot foods at 140°F or above. Between those temperatures lies the USDA danger zone. Perishable food should not sit at room temperature for more than two hours, or one hour when the temperature is above 90°F. Time matters. Divide a large amount of stew into shallow portions, refrigerate it promptly, and mark each container with the date. Use reliable storage guidance for the specific food; there is no single safe fridge limit for every leftover. Not indefinitely. If the food’s time or temperature history is unclear, guessing can feel wasteful, but it is not a dependable safety check.
| Food or situation | Recommended container features | Storage guidance | Food-safety notes |
|---|---|---|---|
| Cooked leftovers Meat, poultry, casseroles, and cooked vegetables | Choose a clean, food-contact-safe container with a secure lid. Use shallow containers so food cools quickly. | Refrigerate at 40°F (4°C) or below and use within 3–4 days. | Refrigerate within 2 hours of cooking, or within 1 hour when the temperature is above 90°F (32°C). Reheat leftovers to 165°F (74°C). |
| Raw poultry or ground meat | Use a sturdy, leak-resistant container with a tight lid to contain juices. Keep it separate from ready-to-eat foods. | Refrigerate at 40°F (4°C) or below and cook or freeze within 1–2 days. | Store on the lowest refrigerator shelf to reduce the risk of juices dripping onto other foods. Follow the product’s safe-handling instructions. |
| Raw fish and shellfish | Select a leak-resistant container with a secure lid; keep seafood separate from cooked and ready-to-eat foods. | Refrigerate at 40°F (4°C) or below and use within 1–2 days, or freeze if it will not be used in that time. | Keep cold during transport and preparation. Discard seafood left at room temperature beyond the safe time limits. |
| Soups, stews, and sauces | Use shallow, heat-safe containers if filling them while food is hot; check that the container is suitable for the intended temperature. | Refrigerate at 40°F (4°C) or below and use within 3–4 days. | Divide large quantities into smaller portions for faster cooling. Do not leave a large pot at room temperature to cool for several hours. |
| Cut fruit and prepared salads | Use a clean, covered container. Choose a leak-resistant design for juicy fruit or salads with dressing. | Keep refrigerated at 40°F (4°C) or below; follow package dates and discard if the food has been held unsafely or shows spoilage. | Wash produce under running water before cutting. Refrigerate cut produce promptly and keep it away from raw meat and seafood. |
| Food for freezing | Use a container specifically labeled freezer-safe, with a secure closure and enough room for food to expand. Avoid containers that may crack at freezer temperatures. | Keep the freezer at 0°F (-18°C) or below. Freezing keeps food safe while continuously frozen; storage duration mainly affects quality. | Label the contents and date. Thaw safely in the refrigerator, in cold water, or in the microwave—not on the counter. |
| Hot food or microwave reheating | Use only containers labeled for hot-food contact or microwave use, as applicable. Do not assume a disposable container is microwave-safe. | Transfer food to a suitable container if the packaging is not labeled for the intended use. | Follow package instructions. Do not microwave containers that are not specifically identified as microwave-safe. |
| USDA Danger Zone: 40–140°F (4–60°C). Keep perishable food out of this temperature range as much as possible. Discard perishable food left at room temperature for more than 2 hours, or more than 1 hour when the ambient temperature is above 90°F (32°C). A container does not make unsafe time or temperature exposure safe. | |||