What Is Blister Thermoforming and How Does It Work?
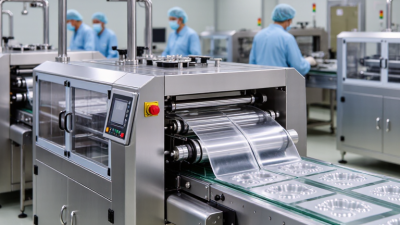
A clear blister pack may look like a simple plastic shell, but its shape is carefully formed. Blister thermoforming heats a flat plastic sheet until it softens, then draws it over a mold using vacuum, pressure, or both. The sheet cools in place and is trimmed to create pockets that hold products securely.
The details matter. Heat that is too high can thin the corners; uneven cooling can leave a pocket distorted. The finished form is commonly sealed to a backing card or lidding material, with the choice depending on product protection, visibility, and packaging needs. PET, PVC, and other plastics may be used, but no single material suits every application.
Market figures offer useful context, though they should not be mistaken for blister-pack data. Grand View Research’s Thermoformed Plastics Market report estimated the global market at about $47.8 billion in 2023 and projected a 5.4% compound annual growth rate from 2024 to 2030. That estimate covers thermoformed plastics broadly, not blister packaging alone.
The method is valued for producing repeatable shapes at scale. It can also create waste during trimming, a practical trade-off worth examining rather than ignoring. Understanding the heating, forming, cooling, and sealing stages helps explain why blister packs vary in strength, clarity, and cost—and how manufacturers choose a suitable design.
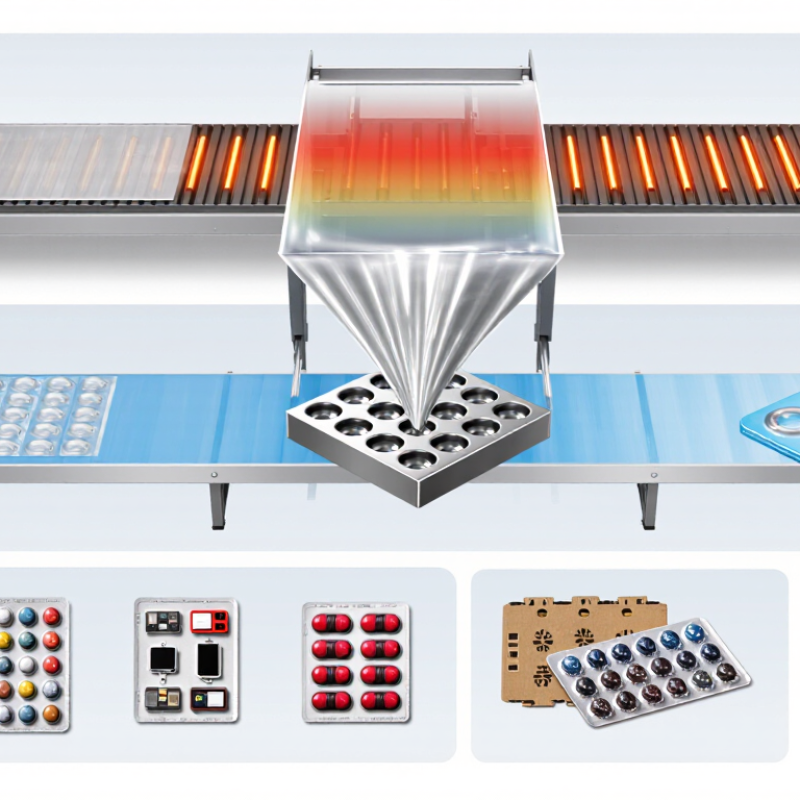
What Blister Thermoforming Is and How It Is Used
Blister thermoforming shapes a heated plastic sheet into a shallow cavity that holds a product. A mold defines the cavity, while vacuum or air pressure pulls the softened sheet against its surface. After cooling, the formed sheet is trimmed and paired with a backing, such as a printed card or sealed film. The result keeps an item visible while helping protect it from dust and handling.
A simple cavity. Common uses include packaging small hardware, electronic components, toys, and selected medical devices. The clear plastic lets shoppers inspect an item without opening the package. Cavity depth, wall thickness, and fit all matter: a loose fit can let a product shift, while a tight one may make removal frustrating. Designers usually test samples with the actual item, not just a drawing.
Material choice depends on the product, display needs, and packing conditions. PET is often selected for clarity; other plastics may suit different forming or durability requirements. The process is not perfectly forgiving. Sharp corners and uneven heating can create thin spots or cloudy areas. Not every shape works. Very tall or intricate cavities may need design changes, and those changes can affect cost, appearance, and ease of packing. A practical review considers both the finished package and the product’s journey through storage, shipping, and use.
What Is Blister Thermoforming and How Does It Work?
Typical sheet-heating temperature ranges for selected thermoforming plastics
In blister thermoforming, a thermoplastic sheet is heated until pliable, formed over or into a mold using vacuum or pressure, then cooled and trimmed. The ranges shown are indicative; the suitable temperature depends on the material grade, sheet thickness, and equipment.
How Plastic Sheets Are Heated for Forming
In blister thermoforming, a flat plastic sheet is held in a frame and warmed until it softens enough to shape. Radiant or infrared heaters deliver energy to the sheet’s surface, often in controlled zones. The operator adjusts heater distance, output, and heating time to suit the plastic type and sheet thickness. Heat it evenly. If one area warms faster, it may stretch more and form with uneven walls.
The surface can look ready while the sheet’s center is still cooler, especially with thicker material. A slight sag may offer a clue, but it is not a reliable measurement by itself. Temperature checks and repeatable cycle settings help reduce guesswork. Not by appearance alone. Once the sheet reaches its forming range, it moves over a mold, where vacuum pulls it against the mold’s details. It then cools before removal. In practice, the process is less tidy than diagrams suggest: small changes in room conditions, sheet storage, or heater performance can affect results. Operators need to monitor the actual sheet and adjust carefully, rather than relying on one fixed setting for every run.
What Is Blister Thermoforming and How Does It Work? - How Plastic Sheets Are Heated for Forming
| Process stage |
What happens |
Typical values or conditions |
Why it matters |
| 1. Sheet loading |
A flat thermoplastic sheet is clamped in a frame and positioned beneath or between heaters. |
Common sheet thicknesses for blister packaging are approximately 0.2–0.8 mm; heavier applications may use thicker sheets. |
Secure, even clamping helps the sheet heat and stretch consistently. |
| 2. Sheet heating |
Radiant or infrared heaters soften the sheet until it can be shaped. The sheet temperature—not just the heater setting—is the important control. |
Approximate forming-temperature ranges vary by grade and process: HIPS, 130–170°C; PETG, 120–160°C; ABS, 150–190°C; PP, 150–180°C.
|
Too little heat can cause poor mold detail; too much can cause sagging, thinning, or surface defects. |
| 3. Temperature check |
The machine checks whether the sheet has softened evenly, using methods such as timed heating, temperature sensors, or visual sag monitoring. |
Heating time depends on polymer, sheet thickness, heater power, distance, and machine setup; it is established for each production process. |
Uniform temperature helps prevent uneven wall thickness and inconsistent forming. |
| 4. Forming over the mold |
The softened sheet is brought over a mold. Vacuum draws it against the mold surface; some equipment also uses air pressure or a mechanical plug to assist. |
Vacuum forming uses a pressure difference; the available difference cannot exceed local atmospheric pressure, which is about 101 kPa at sea level. |
The mold determines the blister’s shape, while the forming method affects detail and material distribution. |
| 5. Cooling and release |
The formed plastic is cooled while held in shape, then released from the mold. |
Cooling may use ambient air, fans, or temperature-controlled mold surfaces, depending on the material and equipment. |
The part needs to become sufficiently rigid to retain its shape after release. |
| 6. Trimming |
The formed sheet is cut to separate the blister or create its finished outline. |
Trimming may be performed with a matched die, a punch, or another suitable cutting method. |
Accurate trimming creates consistent edges and prepares the blister for packaging or assembly. |
|
Temperature ranges are approximate starting references, not universal machine settings. The suitable forming window depends on the specific polymer grade, sheet thickness, equipment, and mold design.
|
How Heated Sheets Take Shape Over a Mold
Blister thermoforming begins with a flat thermoplastic sheet held in a frame. Heaters soften it until it can stretch without tearing. The softened sheet moves over a mold, and vacuum, air pressure, or both pull it against the mold’s surface. That is the forming window. Heat, sheet thickness, and timing all affect how evenly the material draws into corners and around details.
After forming, the part cools while supported by the mold, then is trimmed to its final outline. A blister’s clear face may look simple, but deep cavities can leave thin spots or uneven walls. The OECD’s Global Plastics Outlook (2022) estimates that global plastics production reached 460 million tonnes in 2019; thermoformed packaging is only one part of that total. The figure is a reminder to track sheet use and scrap carefully, not to assume every process has the same footprint. A clean-looking sample can still hide a weak corner, so inspection matters.
Tips: Check wall thickness at corners and around deep draws. Adjust heat or forming time in small steps, and record each trial. A little wrinkle may reveal a setup issue; don’t ignore it.
How Products Are Loaded and Blisters Are Sealed
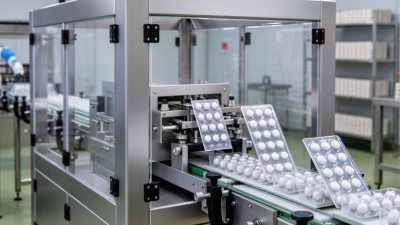
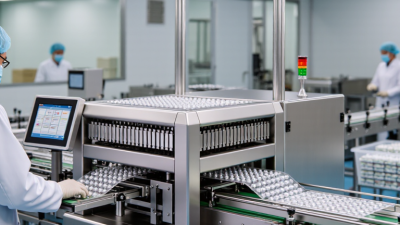
Once a thermoformed blister web leaves the forming station, it moves to the loading area with each cavity exposed. Products are placed into these pockets by hand, pick-and-place equipment, or a feeding system matched to their shape. Tablets may drop through narrow channels, while small components often need guided placement to prevent tilting. On a fast line, a crooked item can interrupt sealing or sit awkwardly in its cavity. Small details matter. Operators may check pocket occupancy, orientation, and visible damage before the web advances. The check is practical, but it cannot catch every hidden defect.
After loading, a lidding material is positioned over the open cavities. A sealing station applies controlled heat and pressure, bonding the lid to the blister flange around each pocket. The exact settings depend on the materials and line speed; they should be validated rather than guessed. Too little heat or pressure can leave a weak seal. Too much may distort the film or affect the product. Some lines use sensors to monitor temperature, pressure, and alignment, followed by inspection or seal testing. Even with automation, occasional wrinkles or misplaced products can occur, so operators need clear procedures for stopping and checking the line. That human step is easy to underestimate.
How Finished Blister Packs Are Trimmed and Checked
After thermoforming, the blister sheet cools while its cavities hold their shape. A cutting station then separates the packs from the surrounding plastic web. Depending on the production line, a matched die or rotary cutter may be used. The cut must follow the pack’s outline without narrowing the sealing flange or leaving sharp edges. Small shifts matter. A crooked trim can make a pack harder to handle or interfere with later sealing. Scrap plastic is usually collected for appropriate recycling or disposal, depending on the material and local facilities.
Each finished pack is checked against its design and production requirements. Operators may inspect cavity shape, overall dimensions, cut edges, and visible defects such as cracks, cloudy patches, or trapped particles. Automated cameras can flag irregular outlines, while staff examine samples more closely. Packs with a foil or film lid may also receive checks for seal continuity; the method depends on the pack and its intended use. A clean edge is not proof that every feature is sound. Borderline defects can be easy to miss, so clear inspection criteria and regular checks help keep decisions consistent.